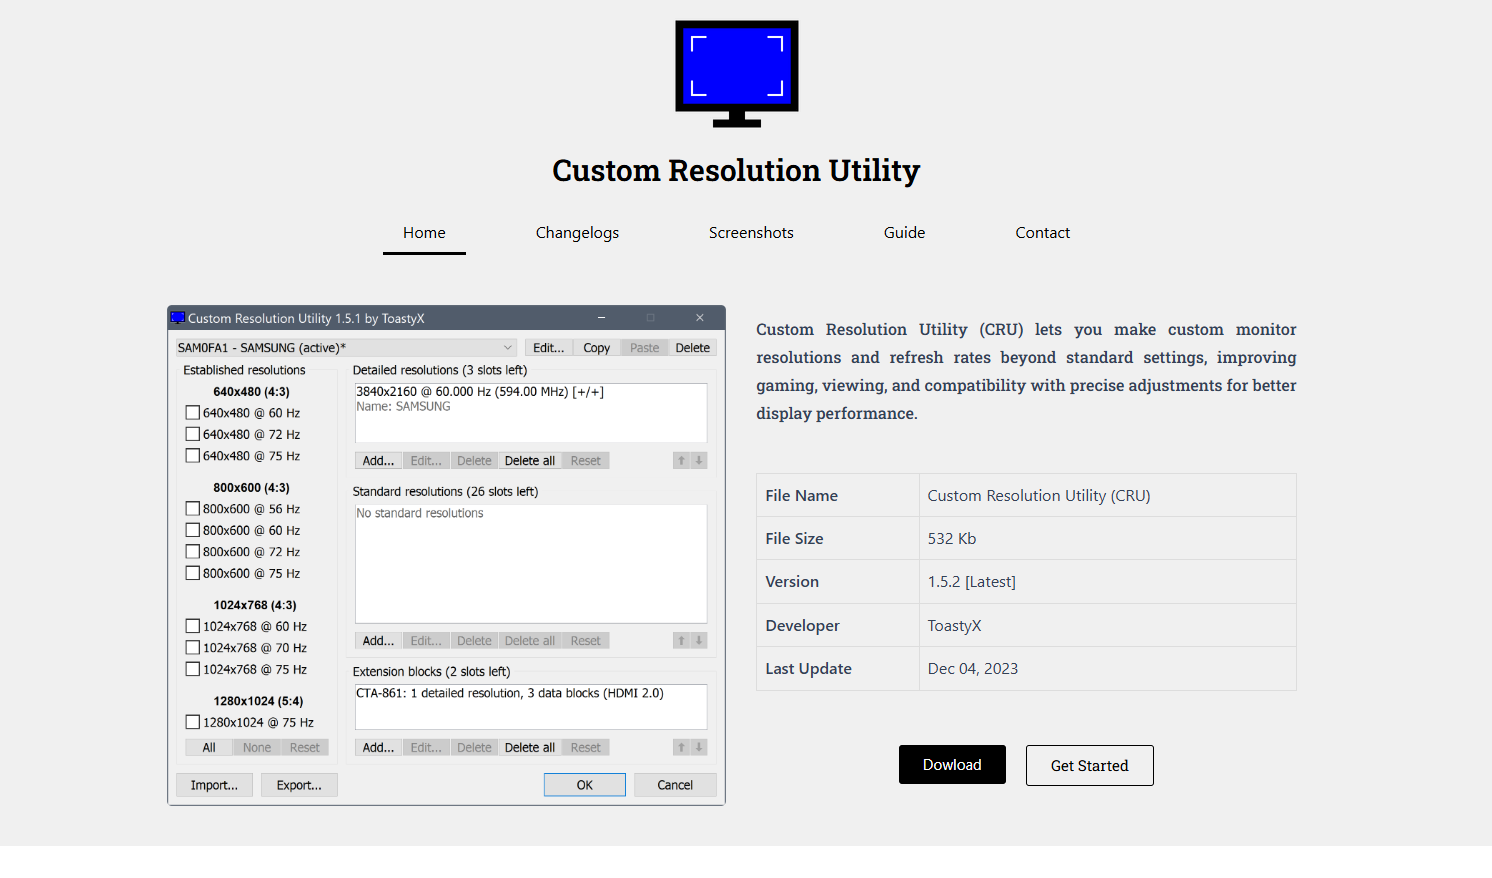
Custom Resolution Utility (CRU) is a powerful tool that lets users define custom resolutions, refresh rates, and other monitor capabilities that aren’t normally accessible through Windows or standard graphics driver panels. For gamers, designers, or professionals seeking more control over display output, CRU provides an unmatched level of customization. But to unlock its full potential, it must be downloaded, configured, and used correctly.
This guide walks through each step—from downloading CRU to using it effectively—while explaining the key technical details and practical tips along the way.
Understanding What Custom Resolution Utility Offers
ToastyX developed CRU to give users full access to how their monitor communicates its capabilities to the system via EDID (Extended Display Identification Data). EDID is responsible for listing supported resolutions, refresh rates, color formats, and more. CRU allows users to override or edit these values.
Unlike standard Windows display settings or GPU software like NVIDIA Control Panel or AMD Radeon Software, CRU operates at a deeper hardware level, changing how the monitor presents itself to the operating system. This unlocks:
- Higher or custom refresh rates (like 75Hz, 100Hz, 144Hz)
- Ultra-wide or uncommon resolutions
- Removal of unwanted resolutions
- Overclocking displays (with caution)
- Fixing resolution recognition issues
CRU is particularly useful for monitors that support modes not officially advertised or recognized by the default drivers.
Downloading Custom Resolution Utility Safely
To get started, the utility must be downloaded from a safe and official source. Avoid third-party or unverified download sites, as they may contain tampered versions or malware.
Steps to Download:
- Visit the Official Site
Navigate to ToastyX’s official site:
https://customresolutionutilities.com/ - Choose the Latest Version
At the top of the thread or post, find the most recent CRU release. The version number and date will be clearly listed. - Download the Zip Archive
Click the direct download link to retrieve a .zip file containing the utility. This zip usually includes: - CRU.exe – the main application
- reset-all.exe – resets all custom resolutions and edits
- restart.exe and restart64.exe – restart graphics drivers after applying changes
- Extract the Files
Use any zip utility (like WinRAR or 7-Zip) to extract the contents to a dedicated folder. No installation is required; CRU is a portable app.
Preparing the System Before Use
Before editing display parameters, it’s important to create a safety net. CRU edits EDID overrides, which can cause the screen to go blank or flicker if configured improperly. A few precautions can prevent issues:
Actions to Take:
- Create a System Restore Point
Restore points allow you to revert your system if anything goes wrong. Type “Create a restore point” in the Windows Start menu to access the tool. - Back Up Existing EDID Settings
Although CRU doesn’t include native backup, you can write down or screenshot the current configuration. Alternatively, use tools like Phoenix EDID Designer for deeper EDID analysis. - Keep Reset Tools Handy
Always retain reset-all.exe and restart.exe in your CRU folder. If you end up with a black screen or unsupported resolution, boot into Safe Mode and run the reset tool.
Launching CRU for the First Time
Once the system is backed up and protected, launch the main application: CRU.exe.
On startup, CRU detects all connected displays. You may see entries like:
- Generic PnP Monitor (active)
- Digital Flat Panel (inactive)
Each display has a list of EDID extension blocks and detailed resolutions. The layout may appear technical at first glance, but the interface is designed to give full manual control.
Adding Custom Resolutions
The core function of CRU is to add, modify, or remove resolutions and refresh rates manually.
Steps to Add a Resolution:
- Select the Active Monitor
Use the dropdown to choose your connected and active display. - Edit Detailed Resolutions
Under the “Detailed Resolutions” box, click Add to define a new resolution manually. - Enter Custom Values
Input width, height, refresh rate, and timing. CRU offers several timing presets: - Automatic (PC) – good for most desktop monitors
- CVT-Reduced Blanking – useful for high refresh rates or HDMI bandwidth constraints
- Press OK to Save
After entering values, click OK, then close CRU. - Restart Graphics Driver
Use the restart.exe (or restart64.exe on 64-bit systems) to restart the graphics driver and apply changes.
Example:
Want to run a 1920×1080 monitor at 75Hz instead of 60Hz? Add a new detailed resolution:
- Resolution: 1920×1080
- Refresh Rate: 75Hz
- Timing: Automatic (PC) or CVT-RB
Once saved and restarted, this resolution will appear in Windows Display Settings or GPU control panels.
Removing or Disabling Unwanted Resolutions
Sometimes Windows or GPU drivers show outdated or incompatible resolutions that clutter the options list. CRU allows these to be cleaned up.
To Remove:
- Select the monitor
- Highlight any unwanted resolution under “Standard” or “Detailed” sections
- Press Delete or click Remove
- Apply and restart the graphics driver
Doing this hides resolutions from Windows’ settings, which helps prevent accidental selections that lead to display errors.
Fixing Black Screen or No Signal Issues
It’s possible to apply a resolution or refresh rate your monitor doesn’t support. This may cause a black screen or “No Signal” message. To recover:
Safe Mode Reset
- Power off and restart into Safe Mode (hold Shift + Restart → Troubleshoot → Startup Settings)
- Navigate to your CRU folder
- Run reset-all.exe
- Restart normally
Blind Reset
If Safe Mode isn’t accessible, connect to another monitor or use keyboard shortcuts to blindly run the reset tool (not recommended unless you’re confident in the layout).
Using Extension Blocks for Advanced Configuration
CRU supports modifying EDID extension blocks for deeper changes:
- HDMI Support – Add or change HDMI resolutions
- Color Formats – Enable YCbCr or RGB settings
- Audio Formats – Tweak EDID audio capabilities (for HDMI)
Click Edit under the Extension Blocks section to access these advanced settings. For multi-monitor setups or HDMI TVs, modifying HDMI data blocks can fix compatibility issues or enable full range RGB.
Common Use Cases and Practical Scenarios
Here are a few scenarios where CRU is especially useful:
Overclocking Refresh Rates
Users often push 60Hz monitors to 75Hz or 100Hz. CRU helps test those refresh rates—if your panel and cable support it.
Fixing Scaling and Black Bars
Sometimes, resolutions like 1440×1080 or 1280×960 appear with borders. CRU can force scaling modes to fix aspect ratio issues.
Enabling Custom Ultra-Wide Resolutions
Gamers using 21:9 or 32:9 displays can define exotic resolutions that games may not detect by default.
Fixing GPU Driver Limitations
On certain laptops or APU systems, drivers block resolutions CRU can forcefully reintroduce.
Compatibility and Limitations
While CRU works on most modern GPUs and Windows versions, there are some caveats:
- Not Compatible with Intel iGPU + Laptop Panels – Most laptop internal displays (LVDS or eDP) do not accept CRU overrides.
- No Live Preview – CRU doesn’t apply resolutions instantly. Always restart the graphics driver or system.
- Driver-Dependent Behavior – Some NVIDIA or AMD drivers may behave differently after updates. Changes may reset.
Conclusion
Custom Resolution Utility opens up advanced display configurations that are often locked away from users. Whether you’re trying to overclock your monitor, clean up unwanted display modes, or fix HDMI scaling issues, CRU puts control back in your hands. With proper setup and cautious experimentation, it becomes an essential tool in any power user or gamer’s toolkit.
Take time to understand how your monitor and GPU interact, and always keep recovery tools nearby. When used wisely, CRU enables display capabilities that go beyond manufacturer defaults—turning ordinary screens into high-performance outputs tailored exactly to your needs.