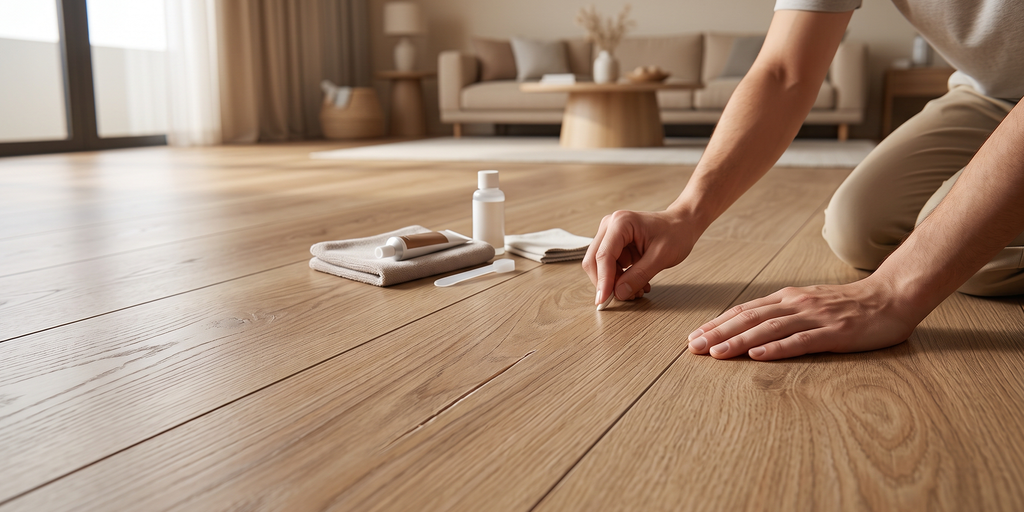
Vinyl handles daily life better than almost any other floor, but a dragged chair leg or a grain of sand under a shoe still leaves its mark. The good news is that most damage is cosmetic and sits in the top wear layer, which means it can be corrected at home in under an hour. Knowing how to fix scratches on vinyl flooring correctly matters more than working quickly, because the wrong product can dull the finish permanently. The step by step method below follows the approach Floorna recommends to clients.
Before You Start: How to Fix Scratches on Vinyl Flooring Without Causing Damage
Two habits cause more harm than the original scratch. The first is reaching for an abrasive pad or a melamine sponge, which strips the protective coating and leaves a permanently matt patch. The second is applying heat from a hair dryer or heat gun, which can soften and distort the plank. Work gently, test any product in a hidden corner first, and stop if the finish begins to change appearance.
How to Fix Scratches on Vinyl Flooring in 5 Steps?
1. Assess the Depth
Run a fingernail across the mark. If it glides over, the damage is a surface scuff and will buff out. If the nail catches, the scratch has cut into the wear layer and needs filling.
2. Clean the Area Thoroughly
Vacuum, then wipe with a damp microfibre cloth and a pH neutral cleaner. Any grit left behind will grind into the finish during the next step and widen the damage.
3. How to Fix Scratches on Vinyl Flooring at Surface Level
For light scuffs, apply a small amount of a manufacturer approved vinyl conditioning product to a soft cloth and buff along the direction of the plank grain using light circular pressure. Wipe away the residue and let the area dry before walking on it.
4. Fill Deeper Marks
Use a repair compound or colour matched wax stick made for resilient flooring. Press it into the groove, level it flush with a plastic applicator rather than anything metal, and remove the excess immediately while it is still workable.
5. Blend and Protect the Finish
Once the filler has cured, buff the surrounding area lightly so the repair blends into the sheen of the plank. Avoid heavy polish build up, which creates a glossy halo that draws the eye straight to the spot you were trying to hide.
When Is Replacing the Plank the Better Option?
Deep gouges that expose the core, splits along a plank edge, or damage in a highly visible area rarely look right after filling. Click systems make single plank replacement straightforward, which is one practical advantage of luxury vinyl plank flooring over sheet formats. Keeping a few spare planks from the original batch is the simplest insurance, since dye lots shift between production runs.
Keeping Vinyl Scratch Free
1. Pads and Entry Mats
Felt pads under every furniture leg and a coarse mat at each entrance stop the two main culprits, which are dragged furniture and imported sand.
2. Cleaning Habits
Sweep or vacuum on a soft floor setting regularly. Damp mop with a neutral cleaner and skip anything solvent based or heavily alkaline.
3. Choosing a Tougher Wear Layer
Thicker wear layers resist scratching far better in busy homes. Comparing SPC vs vinyl flooring helps clarify which construction suits high traffic areas, and the wider Luxury Vinyl Flooring range shows the specifications available.
Conclusion
Assess first, clean before you treat, and match the method to the depth of the mark. Following that order is the whole secret to how to fix scratches on vinyl flooring without leaving a repair that looks worse than the damage, and the detailed how to fix scratches on vinyl flooring guide covers product selection if you want to go deeper before starting.